Essential Camp Kitchen Setup for Backpackers
Learn how to create an efficient and lightweight camp kitchen for your backpacking adventures. Tips on stoves, cookware, food, and organization.
<h1>Essential Camp Kitchen Setup for Backpackers</h1>
<p>The joy of backpacking isn’t just about the miles hiked or the stunning vistas; it’s also about the satisfaction of a warm, delicious meal enjoyed under a canopy of stars. A well-planned and efficient camp kitchen can transform your wilderness dining experience from a chore into a highlight. For backpackers, the key is balancing functionality with weight and packability. This guide will help you assemble an essential camp kitchen setup that’s both lightweight and capable of preparing satisfying meals.</p>
<p>Forget heavy cast iron pans and bulky coolers. Modern backpacking kitchens are sleek, compact, and surprisingly versatile. The goal is to bring only what you truly need, ensuring every item serves a purpose and contributes to a delightful culinary experience without bogging you down.</p>
<h2>The Core Components of Your Camp Kitchen</h2>
<p>Every efficient backpacking kitchen starts with a few fundamental items. These are the workhorses that enable you to boil water, cook food, and safely consume your meals.</p>
<h3>1. The Stove System: Your Trailhead Chef</h3>
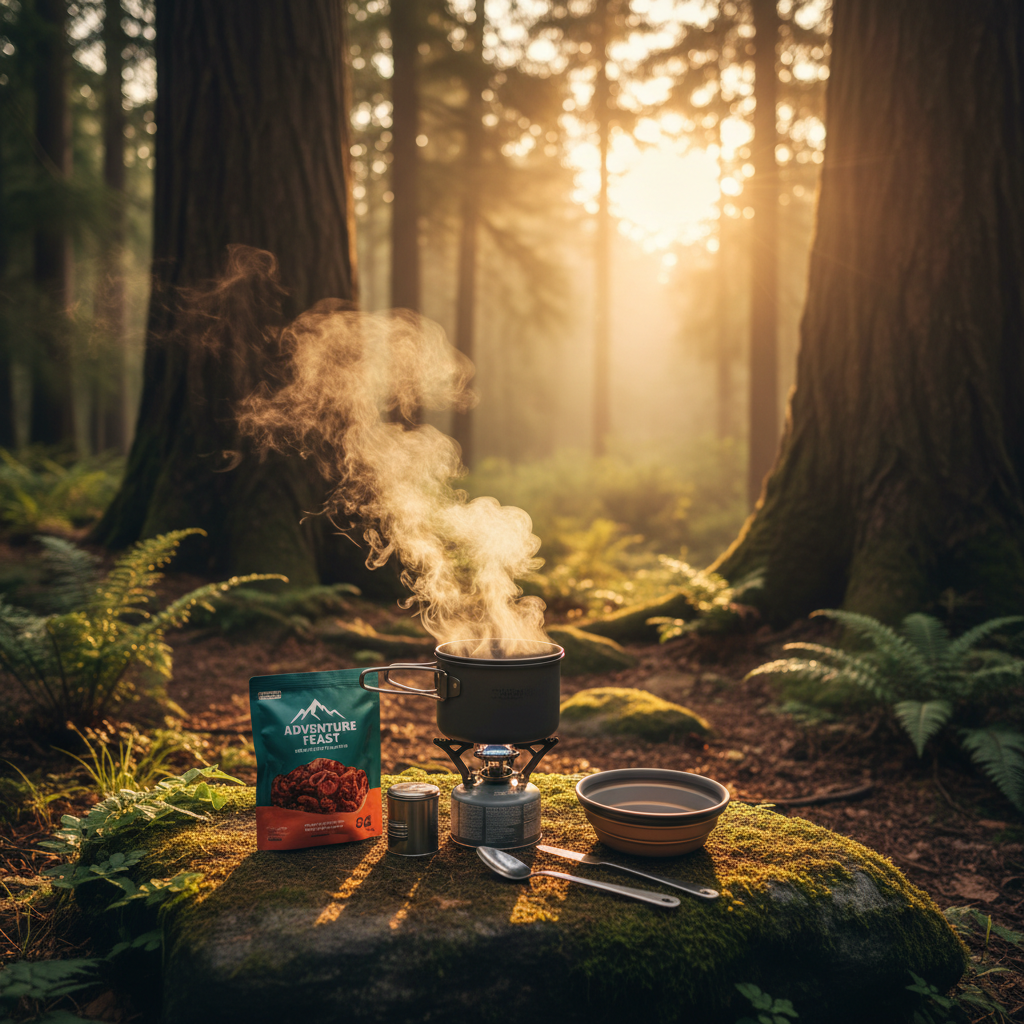
<p>Your stove is arguably the most critical piece of your camp kitchen. Modern backpacking stoves are incredibly efficient and lightweight.</p>
<ul>
<li><b>Canister Stoves:</b> These are popular for their simplicity, quick boil times, and ease of use. They screw directly onto a threaded fuel canister (isobutane/propane mix). Brands like MSR PocketRocket or Jetboil are common. Good for 1-2 people.</li>
<li><b>Integrated Canister Systems:</b> (e.g., Jetboil Flash, MSR WindBurner) These combine the burner, pot, and sometimes a cozy into one efficient unit. Excellent for boiling water rapidly, but less versatile for simmering.</li>
<li><b>Alcohol Stoves:</b> Ultralight and silent, using denatured alcohol. Slower to boil but very simple and reliable. Best for minimalists.</li>
<li><b>Solid Fuel/Wood Stoves:</b> Can be very light and use found fuel, but can be temperamental and leave soot.</li>
</ul>
<p>Consider a stove that boils water quickly and is reasonably fuel-efficient. For a balanced approach, a reliable lightweight backpacking stove is an excellent starting point.</p>
<h3>2. Cookware: Pots, Pans, and Utensils</h3>
<p>Keep it minimalist. A single pot or pot/fry pan combo is usually sufficient for 1-2 people.</p>
<ul>
<li><b>Pot:</b> A 750ml to 1.5L pot (titanium or anodized aluminum) with a lid that can double as a small frying pan is ideal.</li>
<li><b>Utensils:</b> A long-handled spoon (titanium or plastic) is essential for stirring and eating from dehydrated meal bags. A small spatula can be useful if you plan on frying.</li>
<li><b>Cup/Mug:</b> A lightweight insulated mug is great for hot drinks and can often serve as a measuring cup.</li>
</ul>
<h3>3. Eating Utensils & Bowls</h3>
<p>Many backpackers eat directly from their rehydrated meal pouches to minimize cleanup. However, a lightweight bowl (collapsible silicone or plastic) and a durable spork (titanium or polycarbonate) are good additions for more substantial meals or sharing.</p>
<h3>4. Water Treatment</h3>
<p>Access to safe drinking water is paramount. While not strictly "cooking," it